

Starting with a new AI platform can feel overwhelming. Flowise aims to make this process approachable by providing a visual, open-source environment for building AI agents and large language model (LLM) workflows. Whether you are brand new to AI development or just new to Flowise, this guide will walk you through installation, setup, and launching your very first agent. Along the way, you will learn best practices to help you avoid pitfalls and gain confidence in building intelligent applications.
Contents
What Makes Flowise Different?
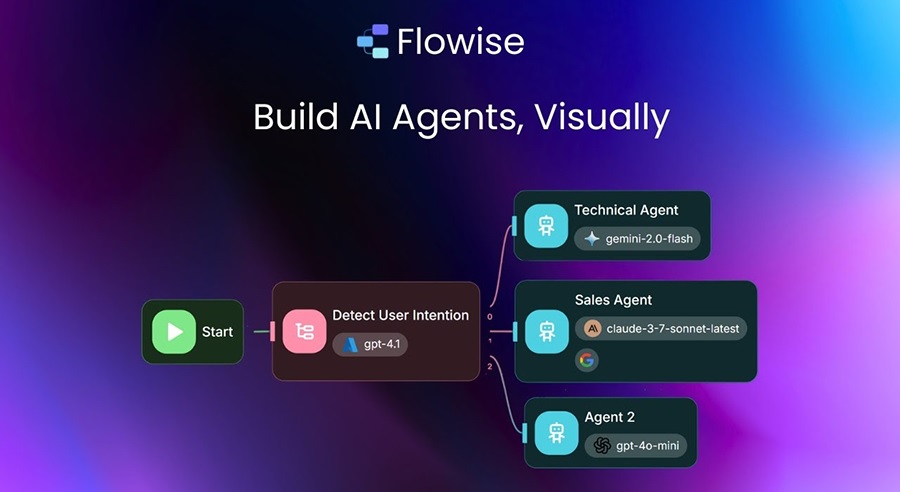
Unlike closed platforms that limit customization, Flowise is open source and modular. It uses a drag-and-drop interface where you can connect nodes to design workflows. Each node represents a step, from collecting input to retrieving knowledge or generating a response. By assembling these nodes, you can design AI systems tailored to your needs without writing thousands of lines of code. Developers still have the option to extend Flowise with custom integrations, but beginners can get far with the built-in features.
👉 Sign up for a free Flowise AI account
Step 1: Install Flowise
The first step in working with Flowise is installation. You can run it locally for experimentation or deploy it in the cloud for collaborative work. For beginners, local installation is a good starting point.
Local installation checklist
- Install Node.js (v18 or later) and npm.
- Clone the Flowise repository from GitHub with
git clone https://github.com/FlowiseAI/Flowise.git. - Navigate into the folder and run
npm installto install dependencies. - Start the app using
npm start. By default, Flowise runs athttp://localhost:3000.
For those who prefer containerized environments, Docker images are available. This ensures consistency across systems and makes deployment smoother.
Step 2: Initial Configuration
Once Flowise is running, you will need to configure it for your first agent. This typically involves setting up API keys and databases.
Adding API keys
Most agents require access to an LLM provider such as OpenAI or Anthropic. Flowise provides fields for securely storing API keys. Make sure to store them as environment variables rather than hardcoding them in workflows.
Choosing a database
If your agent needs knowledge retrieval, connect Flowise to a vector database such as Pinecone, Weaviate, or PostgreSQL with pgvector. These databases store document embeddings for fast and accurate semantic search.
Step 3: Create Your First Agent
Now comes the fun part: building your first agent. Let’s walk through a basic example – a Q&A assistant that answers questions about a PDF.
1. Start a new project
Click “New Flow” in the interface and give your project a descriptive name, like PDF Q&A Agent.
2. Add an input node
Drag a chat input node onto the canvas. This collects the user’s questions in natural language.
3. Connect a knowledge source
Add a PDF loader node and connect it to a vector store node. This allows the system to embed the document and store it for retrieval.
4. Add an LLM node
Insert an LLM node and connect it to both the input and the vector retriever. This way, the model gets the user query and the relevant context from the document.
5. Add an output node
Place a chat output node to display the LLM’s response back to the user. At this stage, your flow should form a complete pipeline: input → retrieval → generation → output.
Step 4: Test and Iterate
Upload a PDF and try asking questions. If the responses are too vague or inaccurate, adjust your chunking size, embeddings, or prompt design. Iteration is a natural part of building agents in Flowise.
Tips for better performance
- Use clear prompts to guide the model’s behavior.
- Break long documents into smaller sections for more precise retrieval.
- Log interactions to understand how users engage with the agent.
Step 5: Deploy Your Agent
Once your agent works reliably, you can deploy it for real use. Flowise supports deployment through APIs, embedding into applications, or running in the cloud. Think about who your users are and where they will interact with the agent. For internal staff, you might integrate it into Slack or Microsoft Teams. For customers, embedding it into a website is a common choice.
Common Beginner Mistakes
As with any new tool, beginners often stumble in predictable ways. Here are some mistakes to avoid:
- Skipping configuration: Forgetting to set API keys or database connections will leave your agent unable to respond properly.
- Overcomplicating the first project: Start simple before adding complex branching logic.
- Neglecting security: Always store credentials securely and limit who can access sensitive workflows.
- No testing loop: Build feedback cycles into your process so your agent improves over time.
Best Practices for Beginners
Here are some guiding principles that will make your Flowise journey smoother:
- Start small: Begin with one simple project to understand the basics.
- Label nodes clearly: Descriptive names make workflows easier to navigate.
- Use reusable flows: Encapsulate common processes like summarization for easy reuse.
- Engage the community: Flowise has an active open-source community where you can learn and share.
- Think ahead: Consider scalability early if your project may grow.
Launching your first AI agent in Flowise does not require advanced programming knowledge. By following a structured process – installing, configuring, creating, testing, and deploying – you can go from beginner to builder in a short time. The key is to start simple, experiment, and gradually expand your skills. Flowise gives you the foundation to bring AI projects to life, whether you are building a chatbot for customers, a research assistant for staff, or a workflow automation system. Your first agent is just the beginning of what you can achieve.